Dec. 10, 2012 – Ridgefield NWR – 27 Photos & 1 Video

Home » Dec. 10, 2012 – Ridgefield NWR – 27 Photos & 1 Video

Dec. 10, 2012 – Ridgefield NWR – 27 Photos & 1 Video

Posted in

Greetings all!  This is my Dec. 10, 2012, batch of images taken at the Ridgefield NWR.  It was quite cloudy today and I had to rely on the high ISO capability of the 5D Mark III camera to get most of these shots.  I’ll include the ISO setting with each image so that you can evaluate for yourself how well the camera performed.

I mentioned at the end of last week’s post that I had tried a new phone app that helps me geo-tag photos that I’ve taken.  I realize that 99% of my photos are taken at Ridgefield NWR so why would I need or want to geo-tag my images?  Isn’t knowing that most of my shots are taken at the refuge, accurate enough?  Well, it could easily be and it has been.  But if you are a loyal reader of my blog, you know that I try to include where on the refuge I took most of my shots–usually referenced by physical marker number (which, of course, means nothing to those readers who can’t visit the refuge).  Many of my readers are local and visit the refuge often.  If these folks are anything like me, they may be interested in knowing in what general area of the refuge I took certain shots.

Up until now I have been relying on my memory to identify shot locations.  Sometimes that isn’t so reliable!  🙂  I was watching a Lightroom 4 tutorial on You Tube recently and learned that there are smartphone apps that can log GPS coordinates of where I go and record the time of each logged entry, in addition to letting the user choose the frequency of each logged entry.

The free app I chose to try is called GPS Logger, for Android (in my case).  I set the interval between logged entries at 30 seconds.  I made sure my camera and my phone’s times were synced then turned on the logger at the refuge before I started taking pictures.  The camera records the time of each image taken and the logger records what time it is and where I am via GPS coordinates every 30 seconds.  When I’m finished shooting for the day 6 – 8 hours later, I turn the logger off.  I save the data as a .GPX file and have it sent to my Dropbox folder.  When I get home from shooting, I import my images into Lightroom 4, and in the Map Module, I click the GPS Tracklogs icon at the bottom of the viewing window and import the .GPX data into Lightroom.  Lightroom matches the data from the GPX file to my images.

Now, each image has GPS coordinate tags and also shows “Ridgefield, WA United States” as the city, state, and country.  Lightroom’s Map Module automatically plots the locations on the auto tour route where I took each photo, and lets me view a mini slide show of each location’s images if I want.  The map is tied to Google maps and I can zoom in fairly close if I need to.  In fact, so close that in some cases the GPS coordinates of some images indicate that I was standing in the middle of a lake maybe 30 feet off the road when I took the image.  This tells me the system isn’t perfect but in about 90-95% of the images, the GPS coordinates are plotted right on the road from where I shot the image.

While this is not a must have system for me, it is easy to do and takes very little extra time to implement it.  It also beats the cost of the accessory GPS gizmo I could buy for the 5D Mark III, which is around $250!  I would think this GPS Logger would be even more valuable to wildlife photographers (or any photograpers) who do shoots at many different locations and want to easily keep track of where there images are taken.

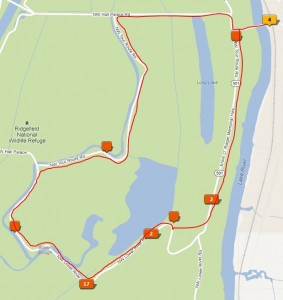
Below is a road view map right out of Lightroom 4, on which I have drawn a red line (for blog purposes) near the auto tour road of the refuge.  Each icon that Lightroom has placed along the route represents at least one photo taken near that spot.  If a number appears on the orange icon, that is the number (greater than one) of photos taken at the same location.  At the time this map was created, I had Lightroom’s filters set to display only the shots I was going to include in today’s post.  So all 27 shots I have posted in today’s blog entry are represented on this map.  The location with the most shots is marked on the map with the number 17.  This is where I waited for a Northern Harrier to land and take off from a post.  Included in this 17 images are two shots of a Red-tailed Hawk taking off from a refuge sign.  At the top right of the map, notice the icon with #4 in it.  This represents the 4 landscape shots I have included where I took shots of the bridge and the river that the bridge crosses.  These shots appear at the end of today’s post since I took them as I was leaving the refuge.  Note: the auto tour route is about 4 miles in length.


For today’s images, just for the heck of it, I will indicate the location on the map where the GPS data says I took each image.  The direction of travel on the route is counter-clockwise.

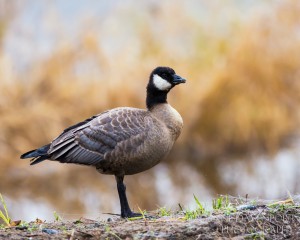
Let’s start with a Cackling Goose that I spotted near the map icon with #3 on it—right in front of Rest Lake (the largest body of water showing on the map), right at the “three trees.”  (I have a landscape shot of the three tree area to show you later).  I was quite disturbed by the behavior of this lone goose and wondered if it was ill.  It was alone, only a few feet off the side of the road, and it didn’t attempt to walk away as I drove up near to it.  Even more disturbing was the choking sounds and movements it was repeating.  I’ve also included a video of this although I must warn you it’s not a pretty sight.  While I hope this goose is okay, my better judgment tells me something is wrong.  (9:37 a.m.)   ISO 3200

[Remember to click on these thumbnails to download a large version of the shots!]


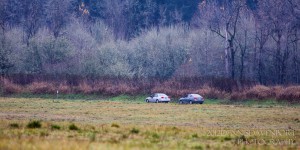
This next shot is of a couple of co-photographers who were at the refuge this day–about a quarter mile ahead of me on the route.  This was taken at the next icon on the map traveling counter-clockwise (near what the map shows is a sharp bend in the road). The two cars are near the icon with ‘2’ on it.  Note my red line on the map cuts across the field.  The Google map has not been updated yet to show that a new section of road was built that follows my red line and the U-shaped road south of that line has been obliterated.    (10:27)   ISO 3200


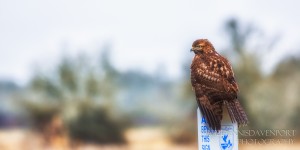
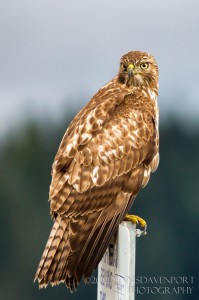
This shot is of a young Red-tailed Hawk at the map icon with ‘2’ on it.  A lot of times it’s these young birds that don’t know any better and let you drive right up to them.  (10:46)   ISO 2500


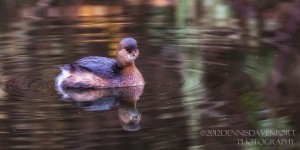
Here’s a Pied-billed Grebe I captured in a very dark area and showing as a blank icon near the center of the map.   (11:12)  ISO 2500


This Great Blue Heron was very close to the edge of the road in the Ash tree forest.  This location is represented on the map as a blank icon prior to the #17 icon (going counter-clockwise).


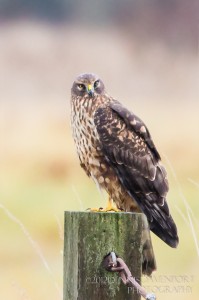
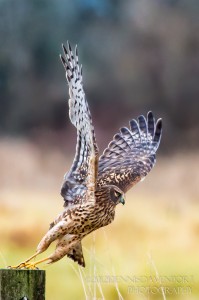
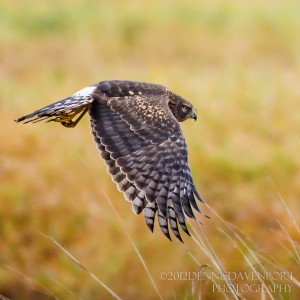
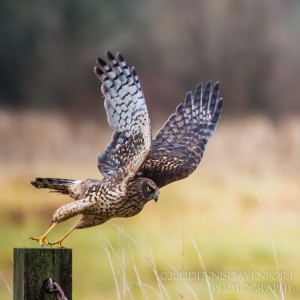
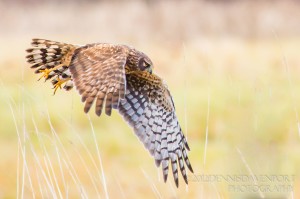
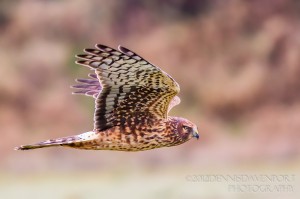
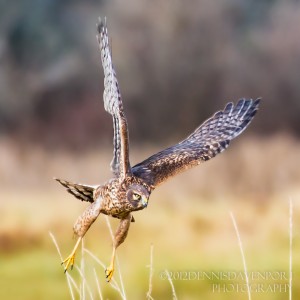
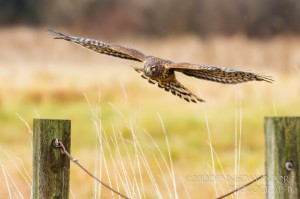
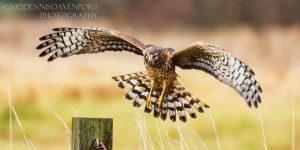
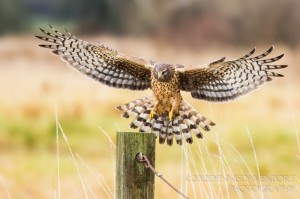
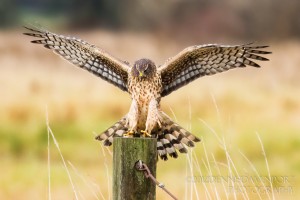
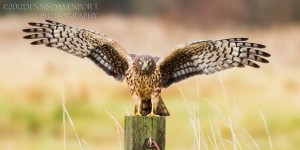
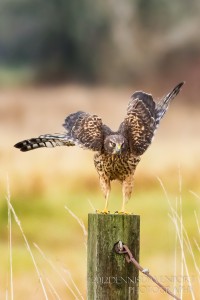
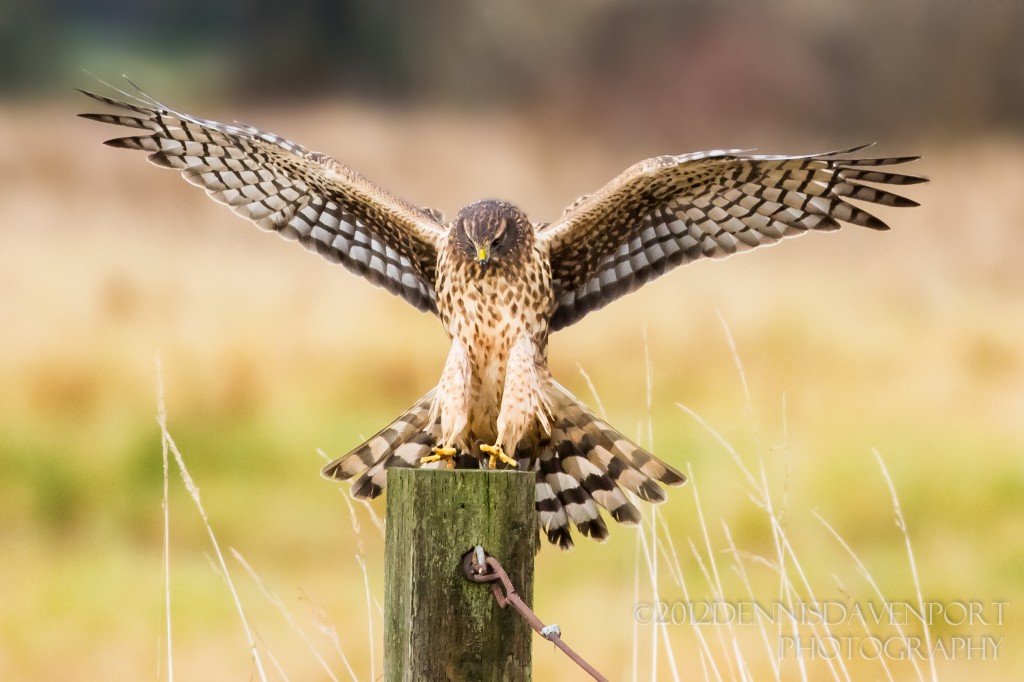
Here is the set of Northern Harrier shots I got while waiting at the corner represented by the 17 icon.  I know there is a Red-tailed Hawk that likes this post but today I noticed that a Northern Harrier did, too.  The harrier would land on the post, then return about 10-15 minutes later.  I tried getting shots of her landing and leaving the post.


After landing.   (11:42)    ISO 2500


Taking flight.    (11:43)    ISO 2500

In flight.   (11:43)    ISO 2500

Another taking flight image.   (11:55)     ISO 2500

In flight.    (11:55)    ISO 2500

In flight.    (12:02 p.m.)    ISO 2500


Just after take off.   (12:08)     ISO 2000


Approaching for landing.   (12:26)    ISO 1600

(12:26)    ISO 1600

(12:26)   ISO 1600

(12:26)   ISO 1600

(12:26)   ISO 1600

Folding the wings.   (12:26)    ISO 1600

Settling down.   (12:26)  ISO 1600


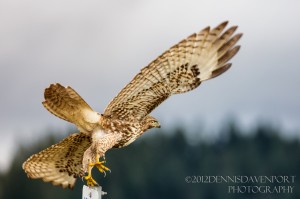
Here’s a Red-tailed Hawk that landed on the sign at the ‘2’ icon on the map.  It didn’t stay there for long as evidenced by the next shot.   (12:38)    ISO 1250


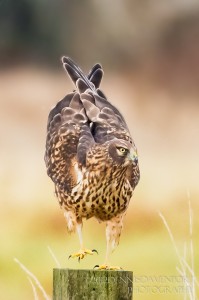
This Red-tailed Hawk was standing on one foot and signaling to turn left.  🙂    It was located just past the point where the above hawk pictures were taken.  Its icon doesn’t show on the map I posted but it does appear when I zoom into the map in Lightroom.  I guess the icons are too close together??  Not sure.     (12:48)    ISO 1250


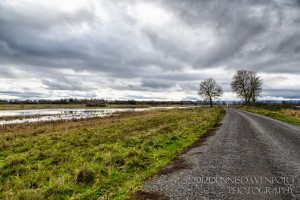
Here, I’ve traveled around the loop again and stopped a ways past the ‘2’ icon on the map.  I turned around and looked back at the three trees.  Rest Lake is out of the picture on the right.    (1:54)    ISO 2500


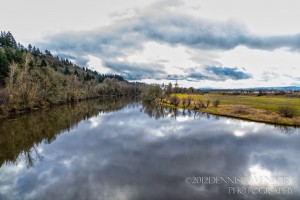
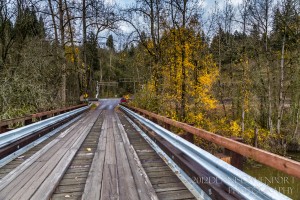
This brings us to the last four landscape shots at the entrance bridge.  These are near the icon on the map that has ‘4’ on it.  This first shot is taken from the bridge looking south and the refuge is on the right.  The river is named Lake River.   (2:18)  ISO 2500


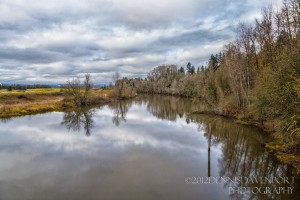
This is also from the bridge but looking north.    (2:19)   ISO 2500


This is from the east end of the one-lane bridge looking west, straight at the refuge.   (2:20)   ISO 2500


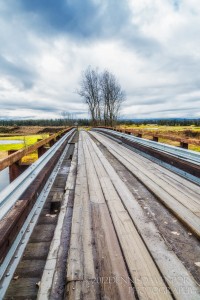
This is from the center of the bridge looking east toward the access road that leads to the refuge.   (2:21)   ISO 2500


This brings my Dec. 10 shoot to a close.  I was happy with some of the shots and even though it was not a bright day, the cloud cover diffused the light I had and took most shadow issues out of the equation.  Also, give the GPSLogger app a try if you have any interest.  It will work with any camera whose image files are supported by Lightroom 4.
4 thoughts on “Dec. 10, 2012 – Ridgefield NWR – 27 Photos & 1 Video”

Leave a Reply to Dennis Cancel Reply

Your email address will not be published. Required fields are marked *

My Gear:

  • Canon EOS 5D Mark IV & Grip
  • Canon EOS 7D Mark II
  • Canon EF 500mm f4L IS II
  • Canon EF 24-105mm f4L
  • Canon EF 50mm f1.8
  • Canon 1.4X III Extender
  • Canon 2x III Extender
  • Canon 580EX Flash
  • Zoom H1 Recorder
  • Better Beamer
  • Manfrotto tripod/monopod
  • Manfrotto Gimbal Head
  • Sandisk Compact Flash Cards
  • The Molar Bean Bag by Vertex
  • Joby Gorillapod Focus & Ballhead
  • Canon EG200 Backpack
  • Storm Jacket Camera Cover
  • Kinesis Safari Sack
  • Original Bug Shirt Elite Edition

Software:

  • Adobe Photoshop CC
  • Adobe Photoshop Lightroom Classic
  • Nik Color EFEX Pro 4
  • Nik Sharpener 3
  • Nik Dfine 2.0
  • Nik Viveza 2
  • Nik HDR Efex Pro 2
  • Nik Silver Efex Pro 2
  • Nik Analog Efex Pro