Nov. 25, 2011- Fri. – Ridgefield NWR – Part 1 (and Color Efex Pro 4 review)

Home » Nov. 25, 2011- Fri. – Ridgefield NWR – Part 1 (and Color Efex Pro 4 review)

Nov. 25, 2011- Fri. – Ridgefield NWR – Part 1 (and Color Efex Pro 4 review)

Posted in

I visited the Ridgefield NWR again today and arrived at sun up.  The weather was supposed to be sunny but not until after a few hours of fog and low clouds.  Once these cleared away it was pretty nice shooting.

[At the end of this post I have written a short “review” on an awesome piece of software I recently acquired called Nik Color EFEX Pro 4.  Be sure to take a look if you’re interested in a powerful filtering plug-in to Lightroom3 and Photoshop.]

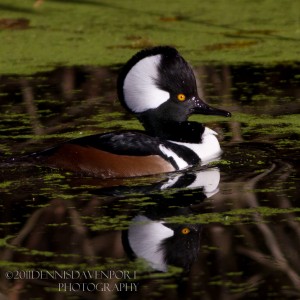
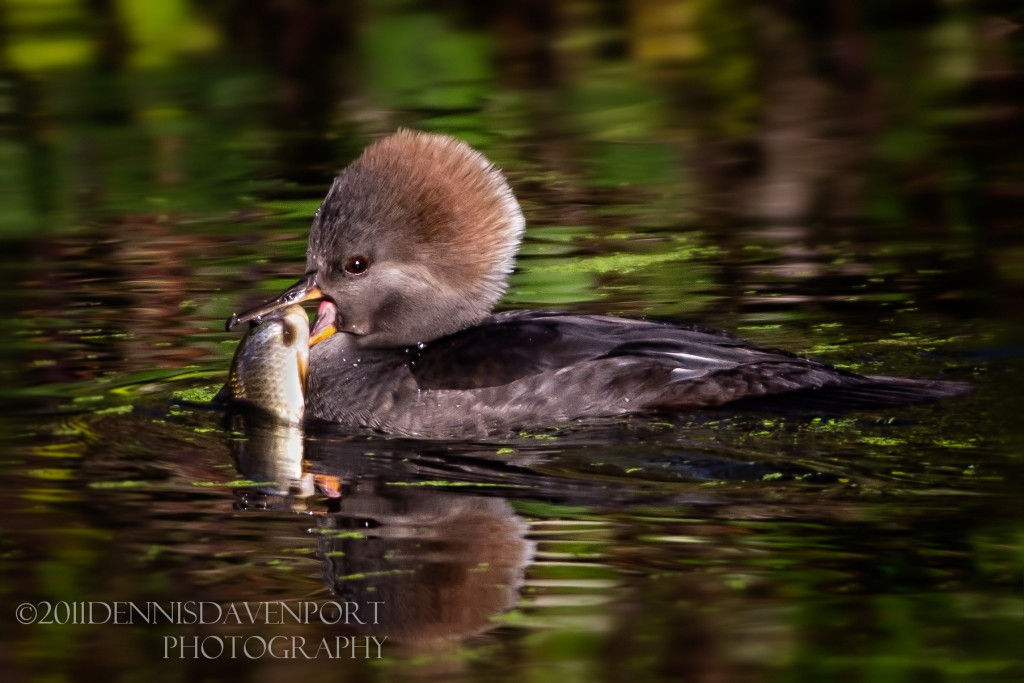
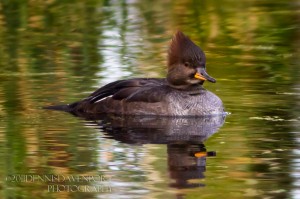
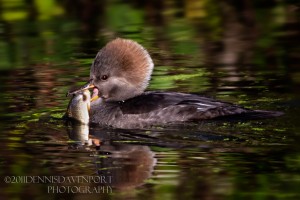
By mid-morning I came across a pair of Hooded Mergansers in the water to the right of the road just prior to the Kiwa Trail parking area.   As I drove up, the mergansers saw me and scooted down stream a bit to a shaded area behind some brush.  I decided to wait it out and see if they would get used to my truck being there, and then make their way back up into the clearing where I was parked.  The wait paid off and I got a few shots.

[Clicking on the thumbnails will get you a larger version of the shots.]

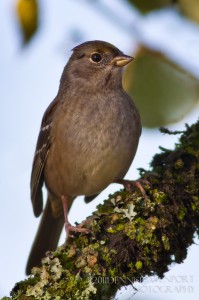
In the wooded area I spotted this juvenile Golden-crowned Sparrow.

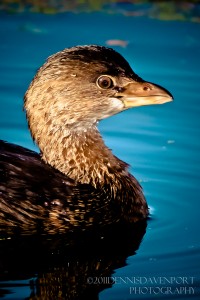
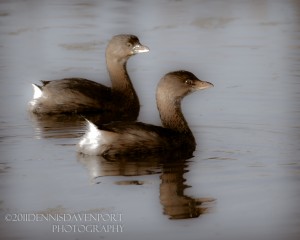
I then drove over to post #11 where I was hoping to see the Vermilion Flycatcher again–but that bird never showed up all day.  While waiting, some Pied-billed Grebe’s made their way fairly close to the water’s edge on my right, when I snapped these shots out the passenger side window.  As you can see, I’ve made an attempt at some artistic enhancements here.  I’m not sure about them but thought I’d give it a try.

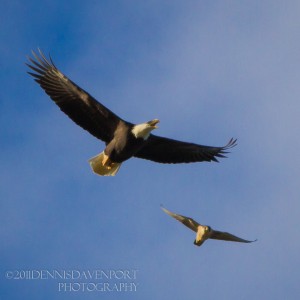
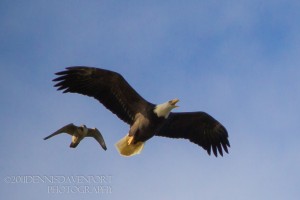
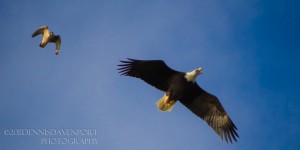
Moving around to the long edge of Rest Lake between markers 12 & 13, there are hundreds of Tundra Swans resting in the water and a lot of duck activity.  But then I noticed a Bald Eagle circling over the lake at a fairly high altitude, making these shots fairly heavy crops.  As I was taking the shots I noticed another bird harassing the eagle but I had no idea it was our resident Peregrine Falcon until I got the shots on my monitor at home.  What a cool thing to get both birds in one shot!

That about does it for photos on Part 1 of today’s shoot.  Be looking for Part 2 soon.

As promised, here’s my “review” on Nik’s filtering software called Color EFEX Pro 4 (CEP4).

NIK COLOR EFEX PRO 4 REVIEW

I heard about this software from a Flickr bird photographer friend.  It was nice to be able to download a 2-week trial copy of it for evaluation.  CEP4 is basically a collection of 55 filters (26 filters if you opt for the lite version).  The software is accessed as a plug in to both Lightroom3 (LR3) and Photoshop CS5.  I’ve used both and there are advantages to either depending on how you want to apply the filter effects to a particular image and whether you want each filter application to be stored in Photoshop as a separate layer.

After I’ve made some basic adjustments to my RAW image in LR3, I just right click on the image and choose Edit In–>CEP4.  The image opens in CEP4 in either TIF or PSD and in whatever color space and resolution I choose.  On the left is a list of 55 different filters to choose from which was kind of overwhelming at first until I got to know through experience what each one does.  It’s easy to mark filters as favorites, too.

Most filters have multiple adjustment sliders to make what seems to be infinite combinations of settings to get the effect I want.  When I’m happy with the way the filter looks on my image, I can ‘save’ that filter’s settings and then click the Add Filter button to access and stack another filter.  I can stack as many filters as I want, then I can save the whole stack as a recipe, and easily apply that, or any recipe, to other images.  The program also keeps track of the history of each change you make to an image as you work on it, including every single slider change.

You’re probably wondering if CEP4 allows me to apply filter effect to just a portion of the image.  The answer is YES.  The software has what it calls Control Points for each filter.  They are called that because they give you more control over where and to what degree the filter is applied — or not applied.  There is a plus (+) and a minus (-) control point tool for each filter.  I can use the plus control point to add the filter effect to just a certain portion of the image I choose.  I can use a minus control point to remove the effect from a portion of the image I choose.  Each control point has an opacity slider so that the effect can be added or subtracted in the strength that I need.  The other slider on each control point is the slider that selects the area around the control point that I want the control point to “select”.  The software uses U Point Technology here to make selections ‘automatic’ without having to do tedious selections with a selector tool. These control points really increase the usefulness of the many filters that are available.  If this selection method is not precise enough for the image (but many times it is), there is the Brush method.

Another fantastic tool available with the help of Photoshop CS5 is the ability to brush in any of the filter effects with the Photoshop brush tool.  Instead of editing the image in CEP4 directly from LR3, I right click on the image in Lightroom3 and choose “edit in Photoshop CS5.”  This opens the image as a TIF in Photoshop.  I can then open the image in CEP4 via Photoshop’s Filter menu or through the CEP4 dialog box that pops up in Photoshop.  I choose my filter and adjust the sliders in CEP4 where I want them for the image.  If I don’t want this effect to be on the bird in my image, for instance, but instead just on the background, I can click an additional Brush button that shows up at the bottom of the screen in CEP4.  This takes the image back to Photoshop, automatically creates a layer and mask in Photoshop, and activates the brush tool.  I set the size and type of brush tool I want, then just paint the filter effect onto the background of my bird image using Photoshop’s brush.  I can go back and forth between Photoshop and CEP4 as many times as I want and each time CEP4 will create a new layer in Photoshop for each filter I choose.  I don’t HAVE to use the brush method to apply the filter–I can easily use the control points and slide adjustments in CEP4 to affect the areas of the image I want, then save it in CEP4 which puts the enhanced image back into Photoshop.  It’s very cool to have the choice of the brush in Photoshop, though!

All the filter work I put into enhancing an image can be saved as a recipe in CEP4 which I can name with the image number/date and recreate the exact same enhancements later on using the original RAW image if I need to.  Or, the saved recipe could be applied to several other similar images of the same subject making all frames look the same from a processing standpoint.

It didn’t take me long to realize I wanted this software so I bought it.  The price was $200 but Nik’s whole suite of products, including CEP4, can be purchased for about $600.  I wasn’t in the market for the whole suite but I had to have Color EFEX Pro 4 and I’m glad I got it.  The software is useful for ANY genre of photography–not just birds.
2 thoughts on “Nov. 25, 2011- Fri. – Ridgefield NWR – Part 1 (and Color Efex Pro 4 review)”

  1. Amazing to get both the eagle and the peregrine in the same frame. Man, I bet the ducks were nervous with this pair circling overhead.

    I use CEP4 as well and find that it can really enhance an image… or over-bake it… pretty quickly. I think it is a remarkable bit of engineering and am glad to see that you agreed.

    1. Bruce, thanks for the comment. I agree that it’s easy to overdo it with CEP4 but I believe that’s true with any photo enhancement software. Depending on the genre, the software has the flexibility to meet the requirements of almost any photographer.

Leave a Comment

Your email address will not be published. Required fields are marked *

My Gear:

  • Canon EOS 5D Mark IV & Grip
  • Canon EOS 7D Mark II
  • Canon EF 500mm f4L IS II
  • Canon EF 24-105mm f4L
  • Canon EF 50mm f1.8
  • Canon 1.4X III Extender
  • Canon 2x III Extender
  • Canon 580EX Flash
  • Zoom H1 Recorder
  • Better Beamer
  • Manfrotto tripod/monopod
  • Manfrotto Gimbal Head
  • Sandisk Compact Flash Cards
  • The Molar Bean Bag by Vertex
  • Joby Gorillapod Focus & Ballhead
  • Canon EG200 Backpack
  • Storm Jacket Camera Cover
  • Kinesis Safari Sack
  • Original Bug Shirt Elite Edition

Software:

  • Adobe Photoshop CC
  • Adobe Photoshop Lightroom Classic
  • Nik Color EFEX Pro 4
  • Nik Sharpener 3
  • Nik Dfine 2.0
  • Nik Viveza 2
  • Nik HDR Efex Pro 2
  • Nik Silver Efex Pro 2
  • Nik Analog Efex Pro